 Blog
Blog
Lab Notebook Page: Step-by-Step Guide for Scientists
The worst lab notes are the ones a scientist plans to clean up later. A timer goes off, a pipette is still in hand, a plate is waiting, and the observation that mattered most gets written down as a vague memory fragment instead of a usable record. A strong lab notebook page solves that problem by capturing what happened while the work is still fresh, then preserving enough context for another person to understand it later.
A page is more than a memory aid. Guidance from the U.S. National Institutes of Health says a notebook should contain enough detail for another researcher to reproduce the work, and it may also matter as evidence in legal proceedings, patent work, or research misconduct questions NIH guidance on keeping an electronic lab notebook. The University of Pennsylvania similarly treats laboratory notebooks as records of primary and secondary data, collaboration, interpretation, and decisions, including results that are good, bad, or cut short University of Pennsylvania laboratory notebook guidance.
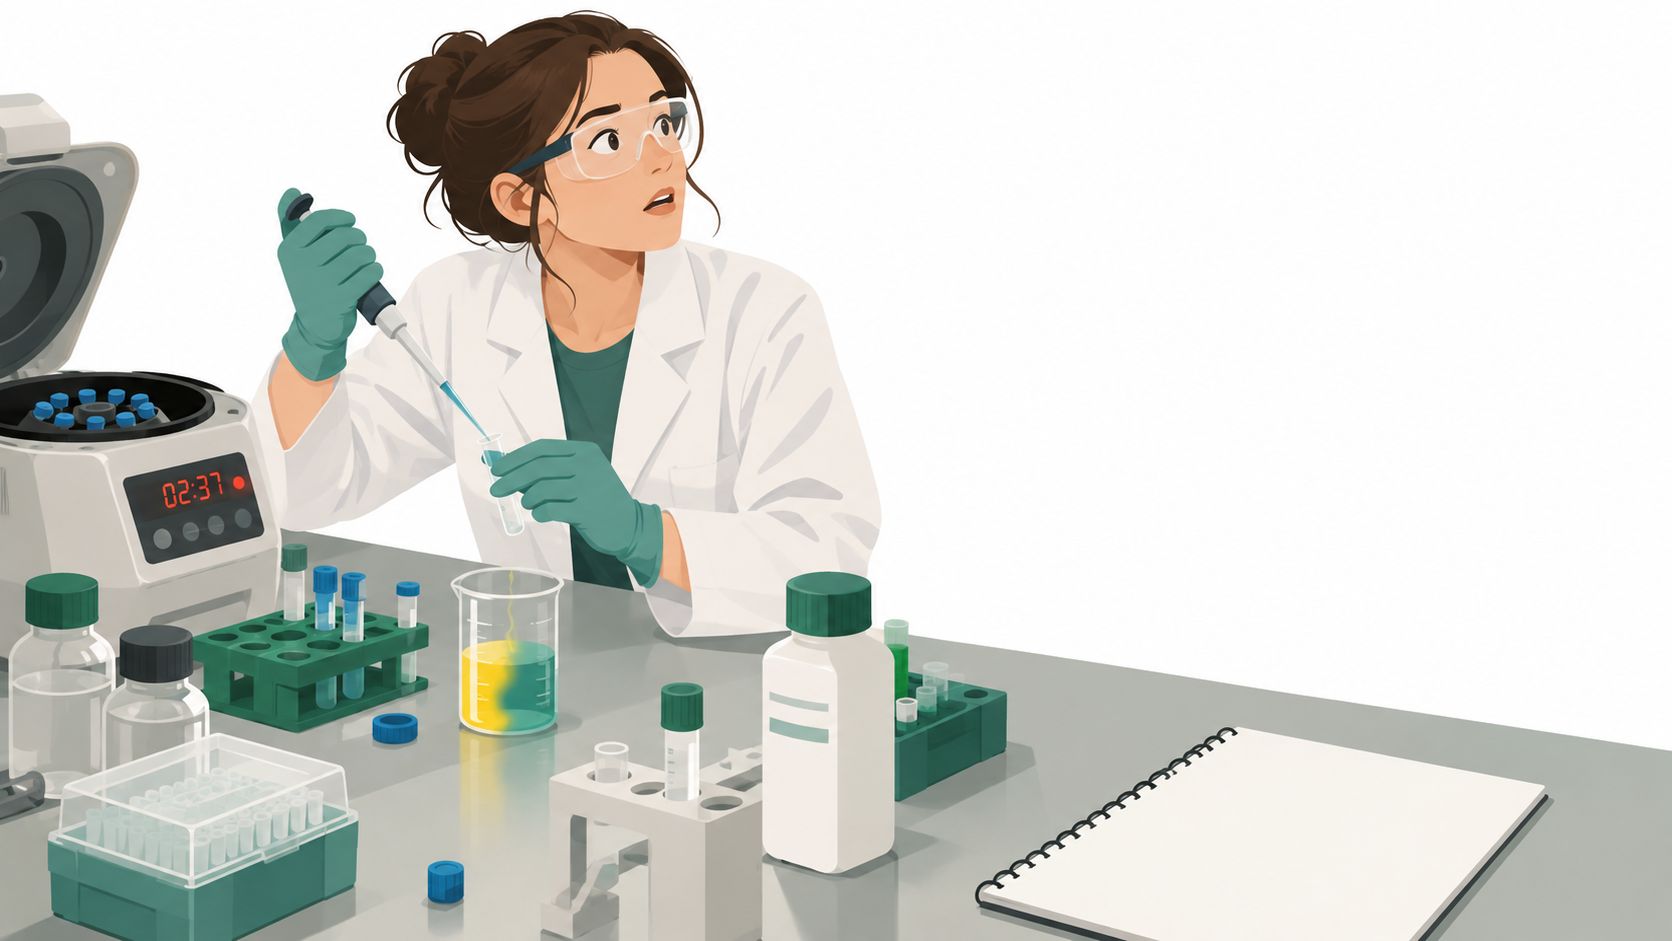
A good page therefore carries more than a result. It holds the project or hypothesis, materials, steps, instrument settings, observations, deviations, calculations, and conclusions, so the record remains useful even when the experiment fails or changes halfway through. That is why a page with neat handwriting can still be weak, while a page with complete context, timestamps, and preserved negative results can be strong.
Table of Contents
- Why the Lab Notebook Page Matters
- Page Structure for Compliant Records
- Timestamps, Corrections, and Sealing
- Capture Workflow at the Bench
- Paper, Digital Tools, and Private Apps
- Common Mistakes and a Practical Checklist
Why the Lab Notebook Page Matters
The failure mode is usually simple. A scientist finishes a run, trusts memory for the details, and later discovers that the exact buffer, dwell time, or temperature change never made it into the notebook. At that point, the page becomes a reconstruction exercise instead of a record of the experiment.
A page is a record, not a recap
NIH recordkeeping guidance says a complete experimental record should show what was done, when it was done, why it was done, and how it was done, along with the researcher's identity and a discussion of the data and results NIH scientific recordkeeping checklist. That framing matters because a lab notebook page is not supposed to be a polished summary after the fact. It is the primary source for the work itself.
That is also why chronology matters. A page can help establish when an idea was conceived, what was tested, what changed, and how the result was obtained. For wet-lab teams, that means the page should preserve the evidence trail, not just the conclusion.
Practical rule: if a page cannot explain the experiment to someone else without oral clarification, it is missing critical record detail.
The value of this becomes obvious during handoffs. A postdoc leaves, a manager reviews a failed assay, or a collaborator asks how a sample was handled. The page that survives those questions is the one that records context at the bench, not the one that was prettied up later.
Page Structure for Compliant Records
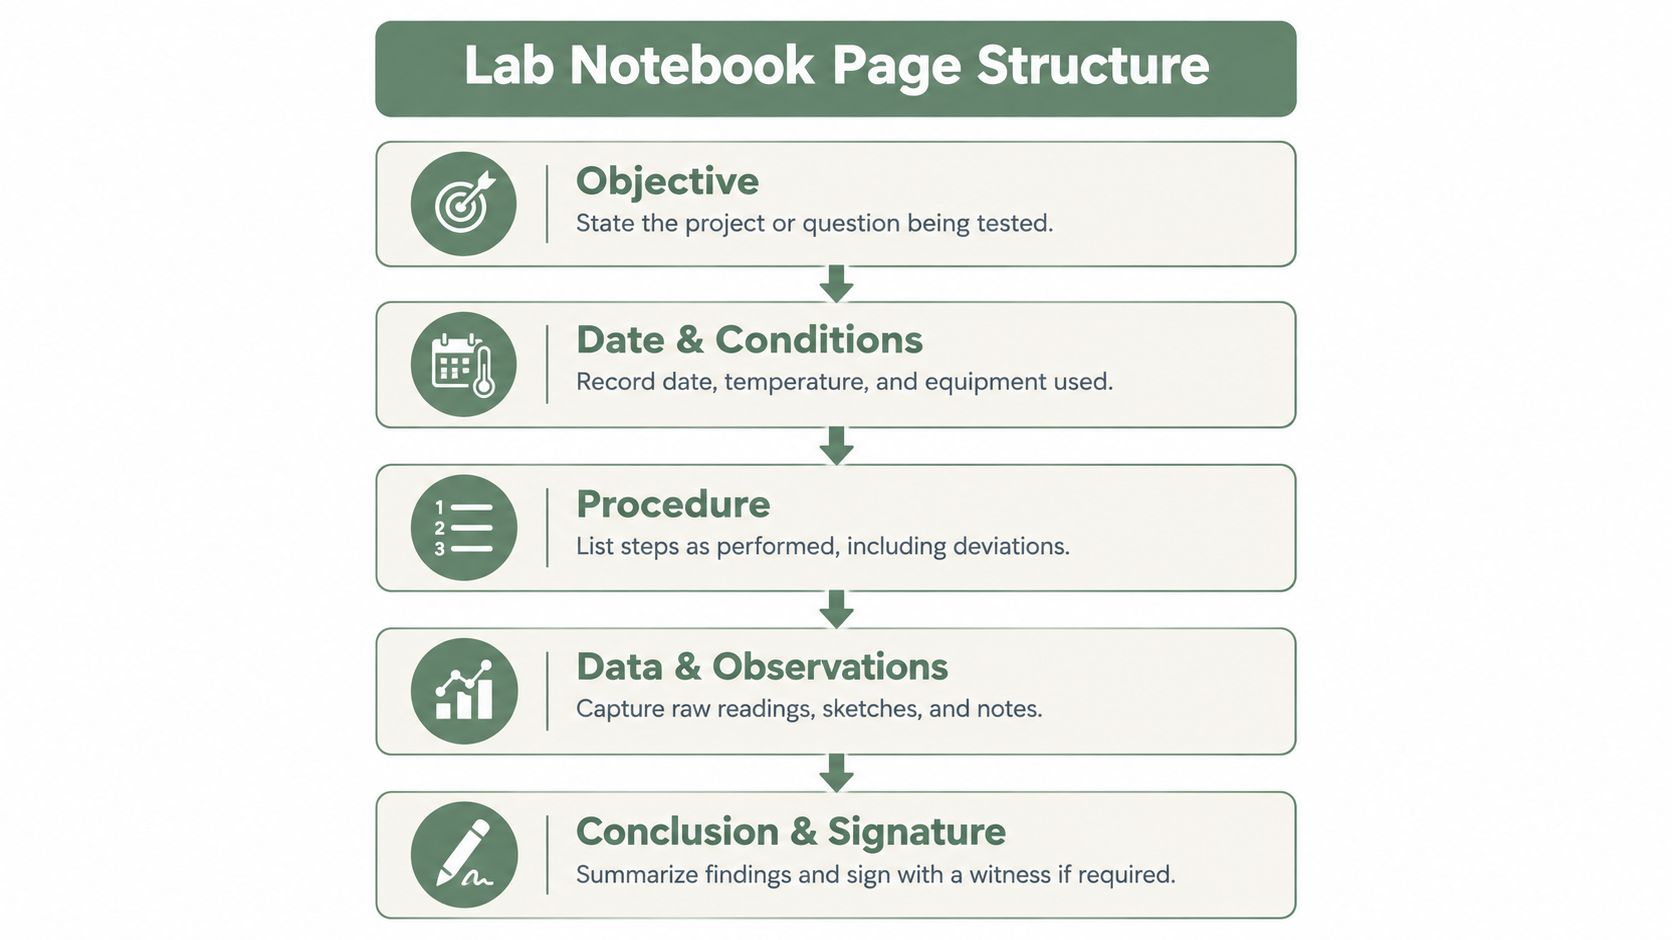
A lab notebook page works best when the layout matches the bench workflow. A practical order is objective, materials, procedure, observations, and conclusion, because that sequence fits how a scientist captures a run while hands are busy.
Objective and Materials
Start with the Objective. State the project, question, or hypothesis in plain language. If the page covers a control run, say that. If it records troubleshooting, name the problem being tested.
Then list Materials with enough detail to trace what was used. Reagent names, catalog numbers, lot numbers, concentrations, and expiry dates usually belong here. A photo of the bench setup or reagent label helps when a bottle needs to be checked later and a detail is easy to mistype under time pressure.
Procedure, Observations, and Conclusion
The Procedure should show both the plan and what happened in practice. Include sample IDs, instrument settings, timing changes, temperature changes, skipped steps, and any substitution made on the fly.
The Observations section should stay close to raw facts. Record color changes, precipitates, gel bands, failed reactions, and timestamps when timing matters. Negative results belong here too, because they often explain why the next step changed.
Finish with the Conclusion. Keep it short and operational. State what was learned, whether the result matched the objective, and what needs to happen next.
A simple chemistry page might look like this, in condensed form.
Objective: test whether the buffer causes visible precipitation after warming.
Materials: buffer lot A17, sample S-04, tube rack, heating block set to the working temperature.
Procedure: mixed sample with buffer at the bench, warmed for the planned interval, then paused because the timer stopped early.
Observations: cloudiness appeared after heating, no pellet formed after settling, photo attached.
Conclusion: repeat with a fresh buffer aliquot and verify the timer setting before the next run.
For teams that need a privacy-conscious reference on document handling, the HIPAA and GDPR document sharing guide is a useful reminder that sharing and retention choices matter as much as the note itself. Whatever capture tool the team uses, the structure above should survive the transfer into the final record.
Timestamps, Corrections, and Sealing
A page becomes defensible when it shows how the record was created, not just what it says. Contemporaneous notes do that work. So does a final version that still preserves the original trail.
Why timing beats tidy formatting
The University of Tübingen recommends chronological entries made during or immediately after the experiment, with enough detail for third parties to understand and reproduce the work University of Tübingen notebook recommendations. That is the standard. Perfect handwriting is not the point.
For time-sensitive work, lab timers help document when a step started and ended. They also make it easier to record deviations before memory blurs them. A scientist who writes a timing change next to the observation preserves the chain between action and evidence.
Corrections need visible history
FDA good-documentation guidance says raw data in regulated studies must be recorded directly, promptly, and legibly, and each entry must be dated and signed or initialed by the person making it FDA good documentation guidance. On paper, the usual correction method is a single line through the error, the correction nearby, and initials plus date. The correction date is the day the correction was made, not the day the mistake occurred.
For electronic records, the same rule is traceability. An audit trail should show who changed what, when, and why. If the record can be edited without a documented rationale, it is harder to defend later.
A page can be messy and still be trustworthy. A page that hides its edits is the one that causes trouble.
Sealing the record is the last practical step. After review, the scientist marks it complete, exports it for archiving or transfer, and keeps the earlier source context available. That matters when the page goes into an existing ELN workflow or a long-term archive where later review is routine.
For teams that also handle contractual or external documents, keeping contracts safe from editing follows the same traceability principle outside the lab. If a team needs a compact starting point, the Lab Documentation Pack (16 lab record templates) includes a lab notebook entry with an ALCOA+ check, a deviation log, and a free blank Lab Notebook Entry PDF on the page. For a separate overview of record quality, the internal guide on ALCOA principles for lab records is worth keeping close.
Capture Workflow at the Bench
At the bench, the record has to keep up with the work. Hands are busy, gloves stay on, and the page still needs to capture what happened while it is happening. A practical workflow mixes voice, typed notes, timers, and images, so the scientist can record source evidence without stopping the run.
A realistic bench routine
Voice notes work well when both hands are occupied. Typed notes are better once the bench clears, because they let you tighten wording, add sample IDs, and clean up structure. Images matter whenever the observation is visual, including a color shift, precipitate, gel, label, or instrument screen.
A workable sequence is straightforward. State the objective before starting, attach material-label photos where needed, run the timer for the time-sensitive step, and capture the observation the moment something changes. Review the record while the experiment is still fresh.
Useful habit: capture source evidence first, interpretation second. That order keeps the page tied to what happened.
The voice lab notebook workflow guide is a useful companion for scientists who want to think through dictation without treating voice as the only input path. In practice, the point is not to replace judgment. It is to preserve the moment without losing control of the record.
What on-device capture changes
Verbex: Voice Lab Notebook (iPhone and iPad app) is a private, on-device lab documentation app for iPhone and iPad. It supports voice notes, typed notes, timers, and images, then arranges those captures into a structured record that the scientist can review and complete before export. The scientist chooses Objective, Materials, Procedure, Observations, Conclusion, or a custom section, then checks the draft before it leaves the device. Material-label images can also be turned into structured entries when the text is legible, which helps during fast capture without pretending the image understands the experiment.
That workflow fits bench reality because the app records first and formalizes later. The completed record can be exported as PDF, DOCX, or Markdown for archiving or transfer into an existing documentation workflow. No cloud AI, cloud storage, advertising, analytics, or tracking is involved, which matters when the record contains sensitive lab context.
Paper, Digital Tools, and Private Apps
No single format wins in every lab. The right choice depends on how much traceability the team needs, how often work changes at the bench, and whether the record must stand up to later review.
| Approach | Strengths | Weaknesses | Best For |
|---|---|---|---|
| Paper notebook | Simple, durable, easy to use without setup | Hard to search, easy to misplace, and slow to reconstruct from fragments | Small labs that want a straightforward original record |
| Basic digital tools | Convenient editing, easy copying, easy sharing | Weak provenance, hidden reconstruction, and weaker control over record history | Informal documentation and quick drafts |
| Private on-device lab documentation app | Captures voice, typed notes, timers, and images at the bench, then supports structured review | Does not replace a validated ELN, inventory system, or regulatory sign-off workflow | Bench capture, handoffs, and ELN preparation |
The main trade-off is control versus convenience. Paper gives direct authorship but little searchability. Basic digital tools are easy to use, but their edit history is often too loose for a serious provenance trail. Private on-device capture sits between those two options when the goal is to preserve source notes first and formalize them later.
A useful decision rule is blunt. If the lab mainly needs a durable handwritten original, paper may be enough. If the lab needs searchable source capture during active bench work, an on-device app can fit better. If the lab is operating under formal validation or sign-off requirements, the capture tool should feed the validated system, not replace it.
For scientists comparing low-friction tools, the AI for researchers practical guide is helpful background on how to think about on-device assistance without confusing it with a full record system.
Common Mistakes and a Practical Checklist
A page fails for ordinary reasons. The work gets written down too late, deviations are left out, negative results vanish, or someone tries to reconstruct the record from memory after the bench has been cleared. Those habits save a few minutes in the moment and create trouble during review.
Mistakes that make pages weak
Delaying documentation is the first problem. Once the experiment is over, timing slips and context gets thin very quickly.
Leaving out deviations causes a different kind of failure. The unusual step is often the one that explains the result, so omitting it weakens the page exactly where a reviewer needs clarity.
Illegible handwriting and loose structure create their own problems. A correct page still becomes hard to use if no one can tell which sample is which or which step changed.
Corrections need visible traceability. If a fix hides the original mistake, the path from error to revision disappears with it.
A copyable checklist
- Objective: write the question, hypothesis, or project goal before the run starts.
- Materials: record reagent names, sample IDs, and any label details that matter later.
- Timing: add timestamps or timer notes for steps where order matters.
- Observations: capture raw changes, negative results, and anything unexpected.
- Conclusion: state what happened and what should happen next.
- Export or archive: save the completed record in the format the lab uses.
A minimal template can stay short. Use this:
Objective
Materials
Procedure
Observations
Conclusion
Reviewed by
Exported or archived as
For teams that want a structured starting point, the free ELN Template Builder works well for lab notebook and deviation records, while the free Lab Protocol Template Builder fits protocol-first documentation.
The page you will thank yourself for is the one written while the timer was still running, not the one reconstructed from memory at the end of the week.